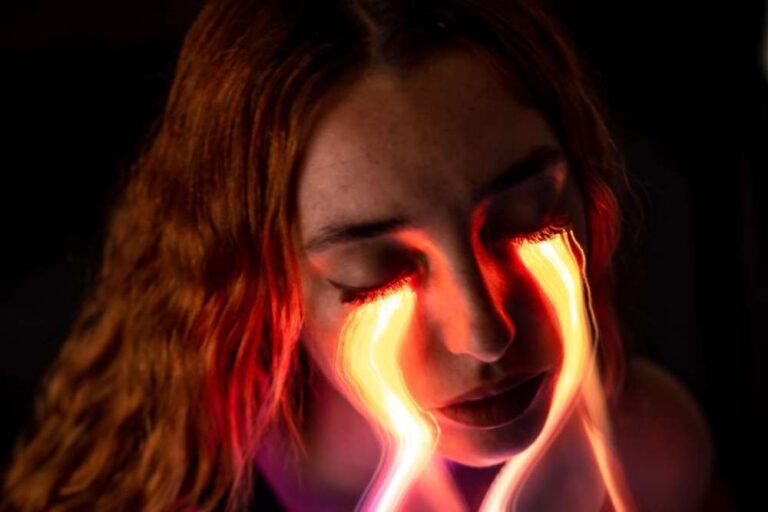
How can you make your Instagram feed look cohesive and attractive, just like your favorite influencers? The key lies in the proper use of presets, magical tools that transform your photos in a unique way.
Now you can ensure that every post on your profile has the same vibe and style, creating a visual cohesion that grabs your followers’ attention and keeps them scrolling for more. Read on to discover how to use presets on Instagram in an authentic and eye-catching way.
Instagram Presets
Presets are predefined photo editing settings that can be applied to an image to achieve a specific visual effect. These configurations include parameters such as white balance, tone curve, saturation, contrast, and more.
When applied to a photo, they create a consistent visual style that can be replicated across other images. Additionally, presets offer numerous benefits:
- Increased visual consistency in your feed: Create a unified and professional look on your Instagram feed. This helps convey a strong and memorable brand image to your followers.
- Save time on photo editing: Instead of editing each photo individually, you can apply preset edits with just one click. This is an excellent way to streamline the publishing process and share content more efficiently.
- Improved photo quality: Presets are designed by photo editing experts to enhance the beauty and visual impact of images. When applied correctly, even photos taken with a phone can look professional and eye-catching.
- Flexibility to suit different styles and themes: A wide variety of options are available, such as warm tones, vintage, minimalist, or monochromatic styles. This allows you to adapt them to different themes and content styles.
- Ability to create a personalized and recognizable style: You can develop a unique and recognizable visual style for your brand. Your followers will easily identify your posts, helping to create a stronger brand image.


How to choose the right preset for your feed
Before choosing a preset, it’s important to have a clear idea of the overall visual style and theme of your feed. Consider whether you prefer a warm and vintage look, a fresh and minimalist vibe, or a vibrant and colorful style.
Keep in mind that the type of content you post will also influence your choice of settings. For example, if you focus on landscape photography, a preset with blue and green tones may highlight natural beauty. If you specialize in portraits, one that enhances skin tones might be more appropriate.
Once you’ve identified your style and content, look for presets that fit your needs. You can find free or paid options on specialized websites or app stores.
Also, don’t limit yourself to just one option. Test different presets to see which one best suits your style and content. Remember, you can adjust them as needed to achieve the desired effect.
If you follow other users with attractive feeds, don’t hesitate to use their presets as inspiration. Many creators share or sell their custom presets. A standout example is Jordi Koalitic, a global audiovisual production company, which offers exclusive preset packages that can completely transform your photographic approach.

How to apply presets on Instagram
To apply presets, you’ll need a photo editing app that supports them. Some of the most popular apps include Adobe Lightroom, VSCO, and Snapseed. Follow these steps to apply presets:
- Open the photo you want to edit in the app.
- Look for the presets or filters option in the app.
- Select the preset you want to apply.
- Adjust the intensity as needed.
- Save the edited photo.
After applying the preset, you can adjust additional parameters such as exposure, contrast, saturation, and more. This allows you to further customize the effect and adapt the preset to the specific lighting and content of your photo. A preset that looks perfect on one photo may appear too saturated or contrasted on another. Experiment with different settings to achieve the best possible result.
Tips and tricks for customizing your presets
Here are some tips you can use to customize your presets:
- Adjust the tone curve to achieve the right contrast: The tone curve is a powerful tool for adjusting the contrast and overall tone of a photo. Try different tone curve settings to achieve the desired effect.
- Use layers and masks to apply selective effects: Some editing apps allow the use of layers and masks to apply effects to specific areas of the photo. This lets you enhance key elements or fix localized issues without affecting the entire image.
- Add textures and patterns for depth: Look for presets or overlays that include interesting textures such as paper, fabric, or wood.
- Use gradients and colors to create a consistent style: Gradients and selective color adjustments can help you create a more unified visual style across your feed. Experiment with different color combinations and gradients to achieve a unique effect.


